

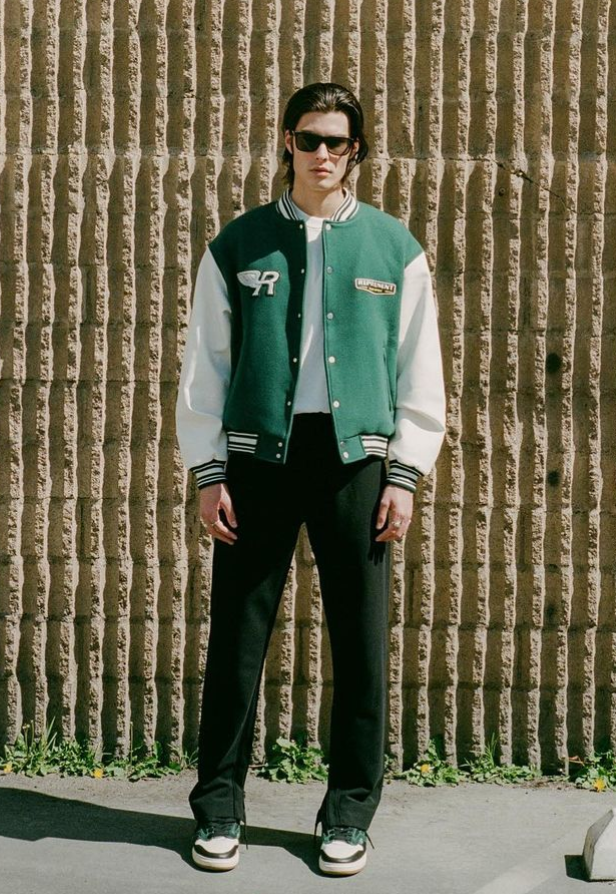
Blank Varsity jacket (also known as letterman jackets) are an iconic piece of American outerwear dating back to the 1950s. These jackets are usually made from wool with vinyl sleeves or leather and often have chenille patches or embroidery that represent the school or team. These steps will help you create your own varsity jacket.
Gathering materials
Gathering all necessary materials is the first step to making a varsity jacket. You will need a quality wool fabric to make the jacket’s body. It should be thick enough to give warmth and durability. You will need a blend of polyester and wool to make the lining.
Next, you’ll need ribbed knit fabric to make the collar, cuffs and waistband. This fabric should complement or match the wool and/or polyester fabrics that you have selected.
For the jacket’s front closure, snaps or buttons will be required. You may also want to add embellishments like chenille letters and embroidered patches. If you have the skill, these can be purchased from many suppliers or handmade by you.
How to create the pattern
After you have collected all the materials you will need to make a pattern for your Varsity Jacket. Start by creating the jacket’s body, sleeves, collar, collar, cuffs and waistband. Either start from scratch or take an existing pattern.
Before cutting the pieces of the chosen fabric, make sure you adjust the size and fit of the pattern. It may take several adjustments to achieve the perfect fit, so be patient and take your own time.
How to sew a jacket
Once you have the pattern pieces, you are ready to sew your varsity jacket. Start by joining the body pieces, which are usually the back and the two front panels. Sew them using a strong stitch that can withstand wear and tear.
The sleeves should be sewn to the body of your jacket. This step can be tricky as you need to align the sleeves and body pieces correctly to prevent distortion. This step is important. Take your time and ensure everything lines up.
Attach the ribbed knit fabric to your collar, cuffs and waistband. To prevent fabric unraveling, you can use a serger or a straight stitch. For a neat finish, align the ribbing with your jacket body and sleeves.
Add the buttons or snaps to the front closure. You can also add any embellishments that you like. Here’s where you can be creative and add your personal touch to the jacket. Attach everything securely to ensure it doesn’t get loose.
Final touches
You will need to finish your varsity jacket after you’ve sewn it. To ensure a clean jacket, press it and inspect it for loose threads or imperfections. To ensure that the jacket is neat and tidy, trim any excess fabric.
Next, wrap the navy blue varsity jacket and ship it to the customer. You can skip this step if you are making the jacket yourself and you can wear it proudly!
Conclusion
It’s a rewarding and fun process to make a varsity jacket. These steps will help you create a varsity coat that’s stylish, comfortable, and suitable for every occasion. A varsity jacket is timeless and will always be in fashion, no matter if you are a student at high school or an individual who wants to represent your team.